Soft & Rough {12 Days of Sensory Play}

This is a fun and easy craft that focuses on textures! Even really little kids and babies love to poke their fingers through holes… And it’s simple enough that older preschoolers could help in the making of it!
You will need:
2 paper plates
1 piece of cardstock
cotton balls
sandpaper
packaging tape or glue
scissors, stapler and a pen

Day 4 – Soft and Rough
Step 1 – Trace around one of the paper plates on the card stock and cut out the circle
Step 2 – Cut out several holes towards the center of each paper plate (carefully!)
Step 3 – Tape or glue the sandpaper on one side of your card stock circle and cotton on the other. Place circle between the paper plates and staple the edges.
Now you have a sensory play toy (that cost almost nothing)!
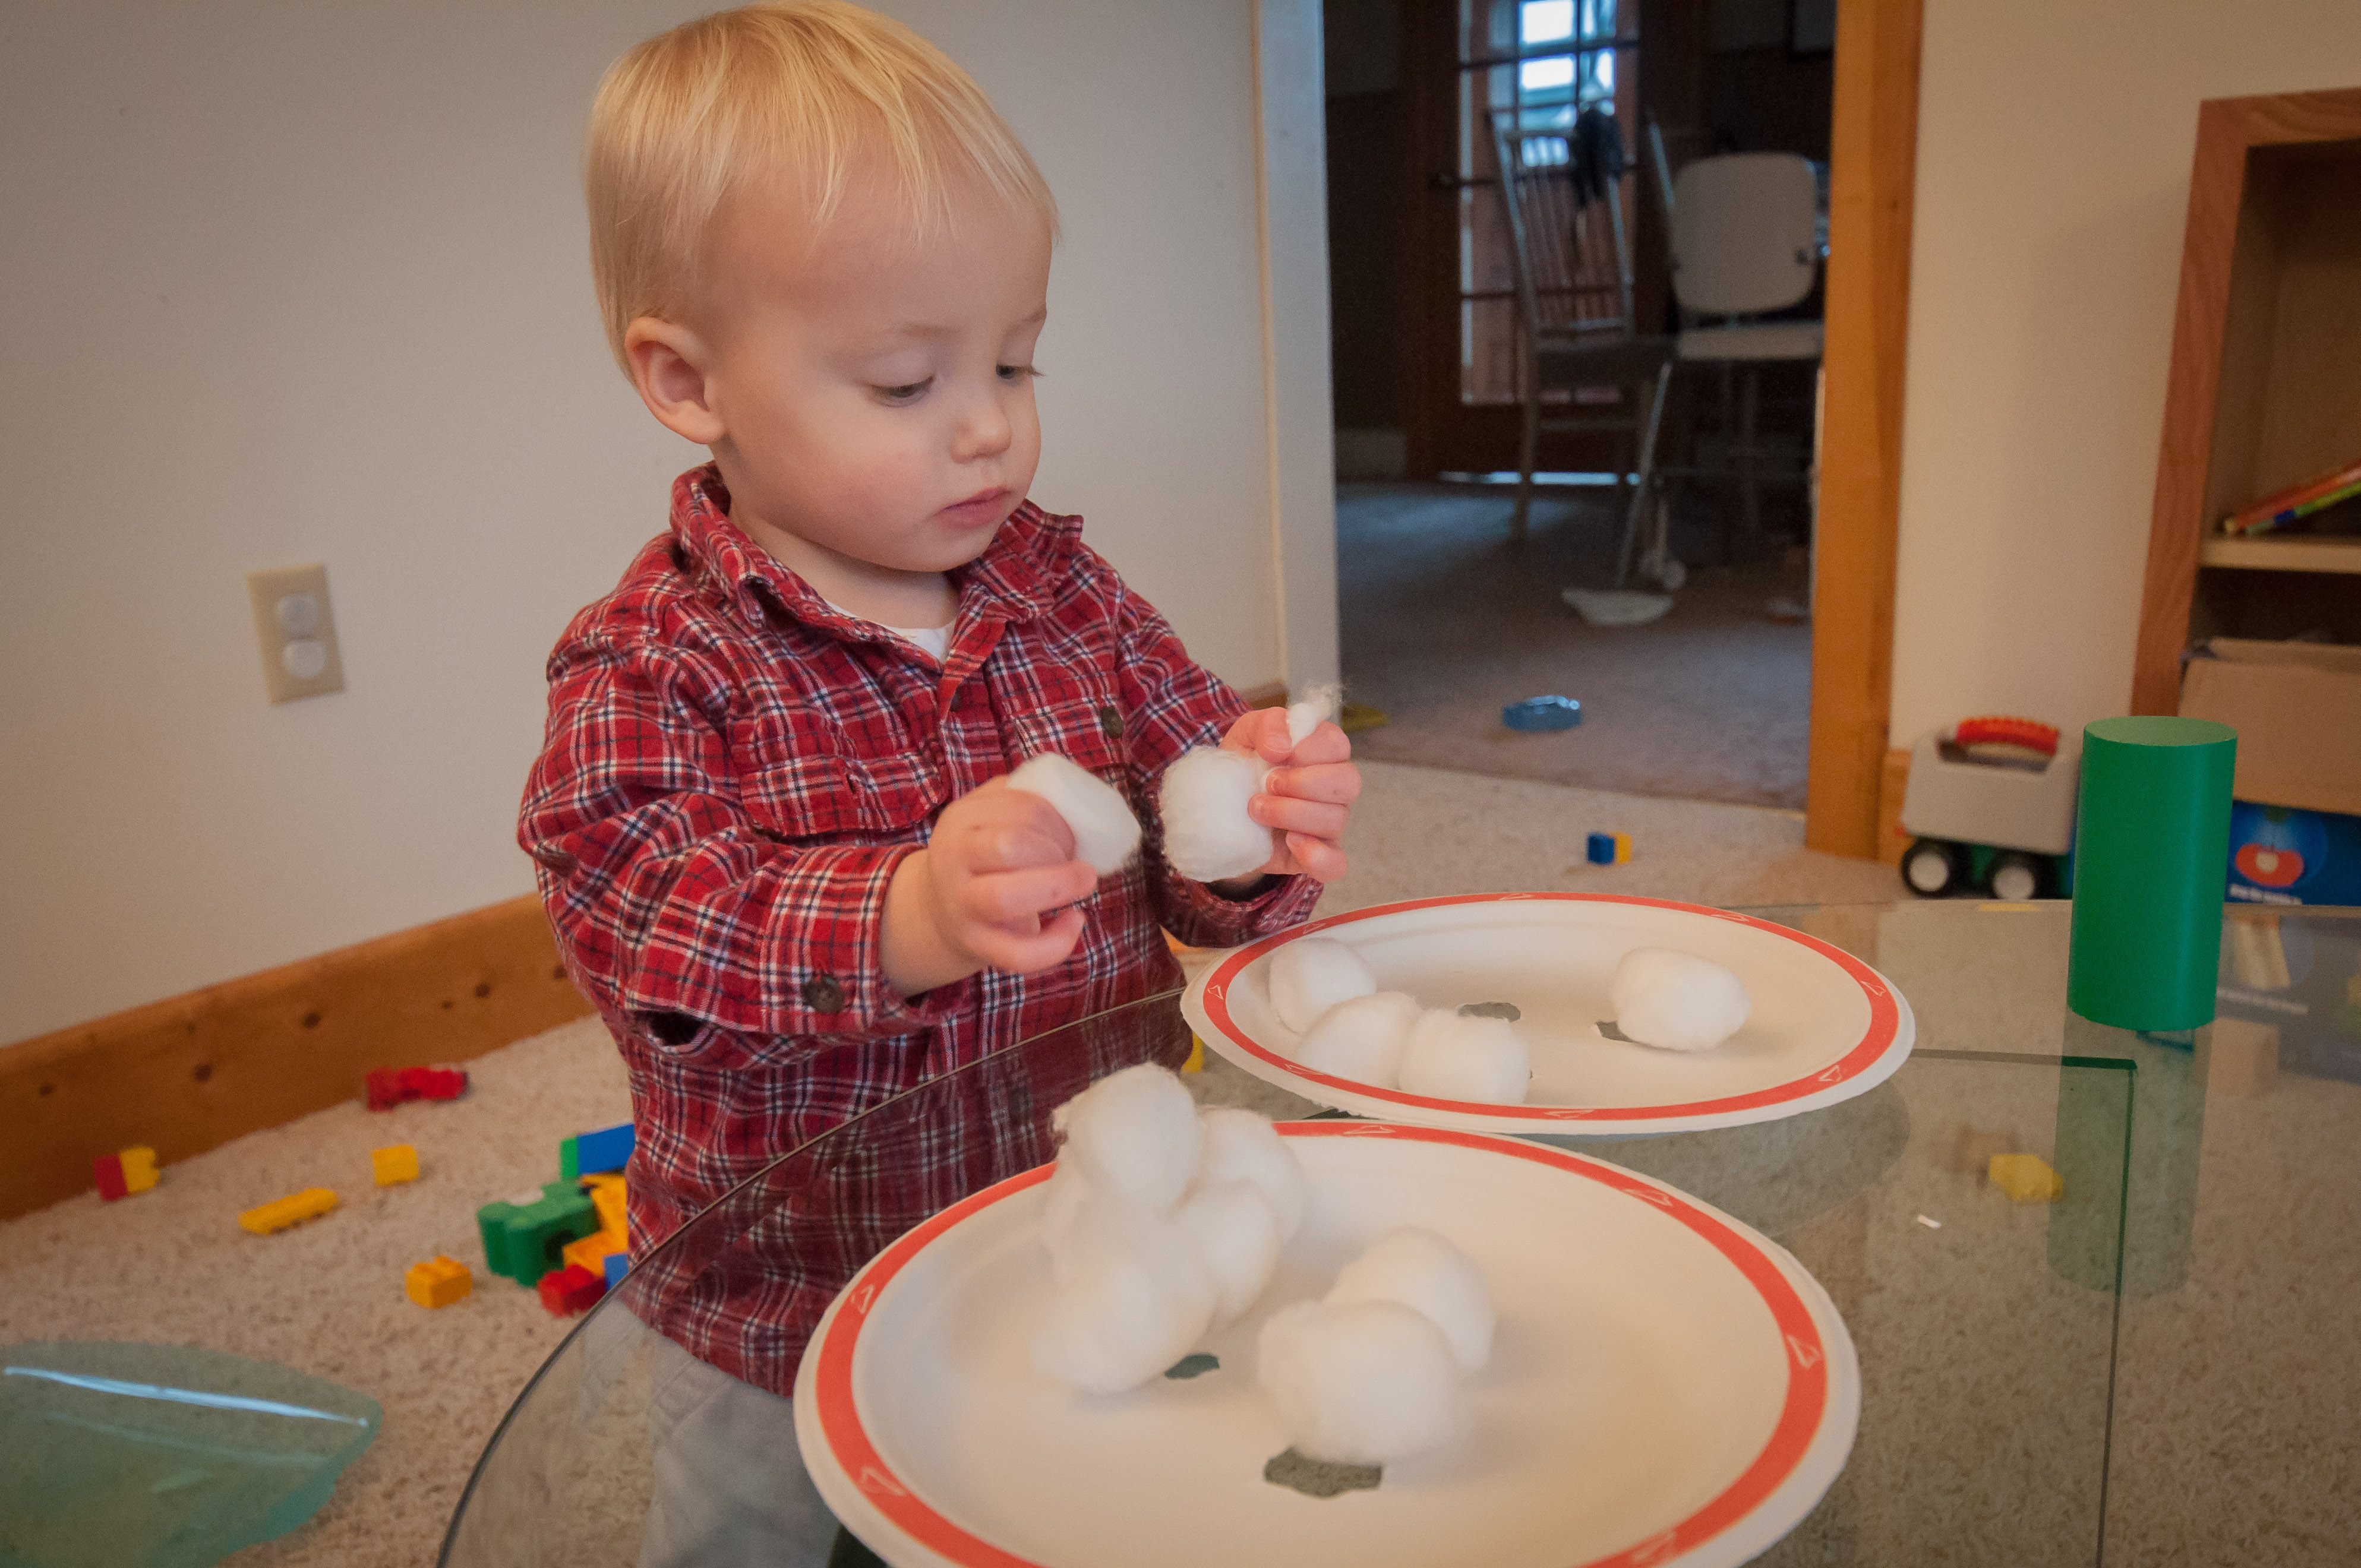
Olaf (16 months old) had just as much fun experimenting with the cotton balls and individual supplies as he did with the final product! That’s ok if your child does too! Just roll with it! The goal is not necessarily the end result as much as exploring and feeling different textures. Talk about “soft” and “rough” and then associate those words with other objects as well, such as a soft blanket or teddy bear or rough wood or whiskers.
 He has a definite preference for the cotton “soft” side!
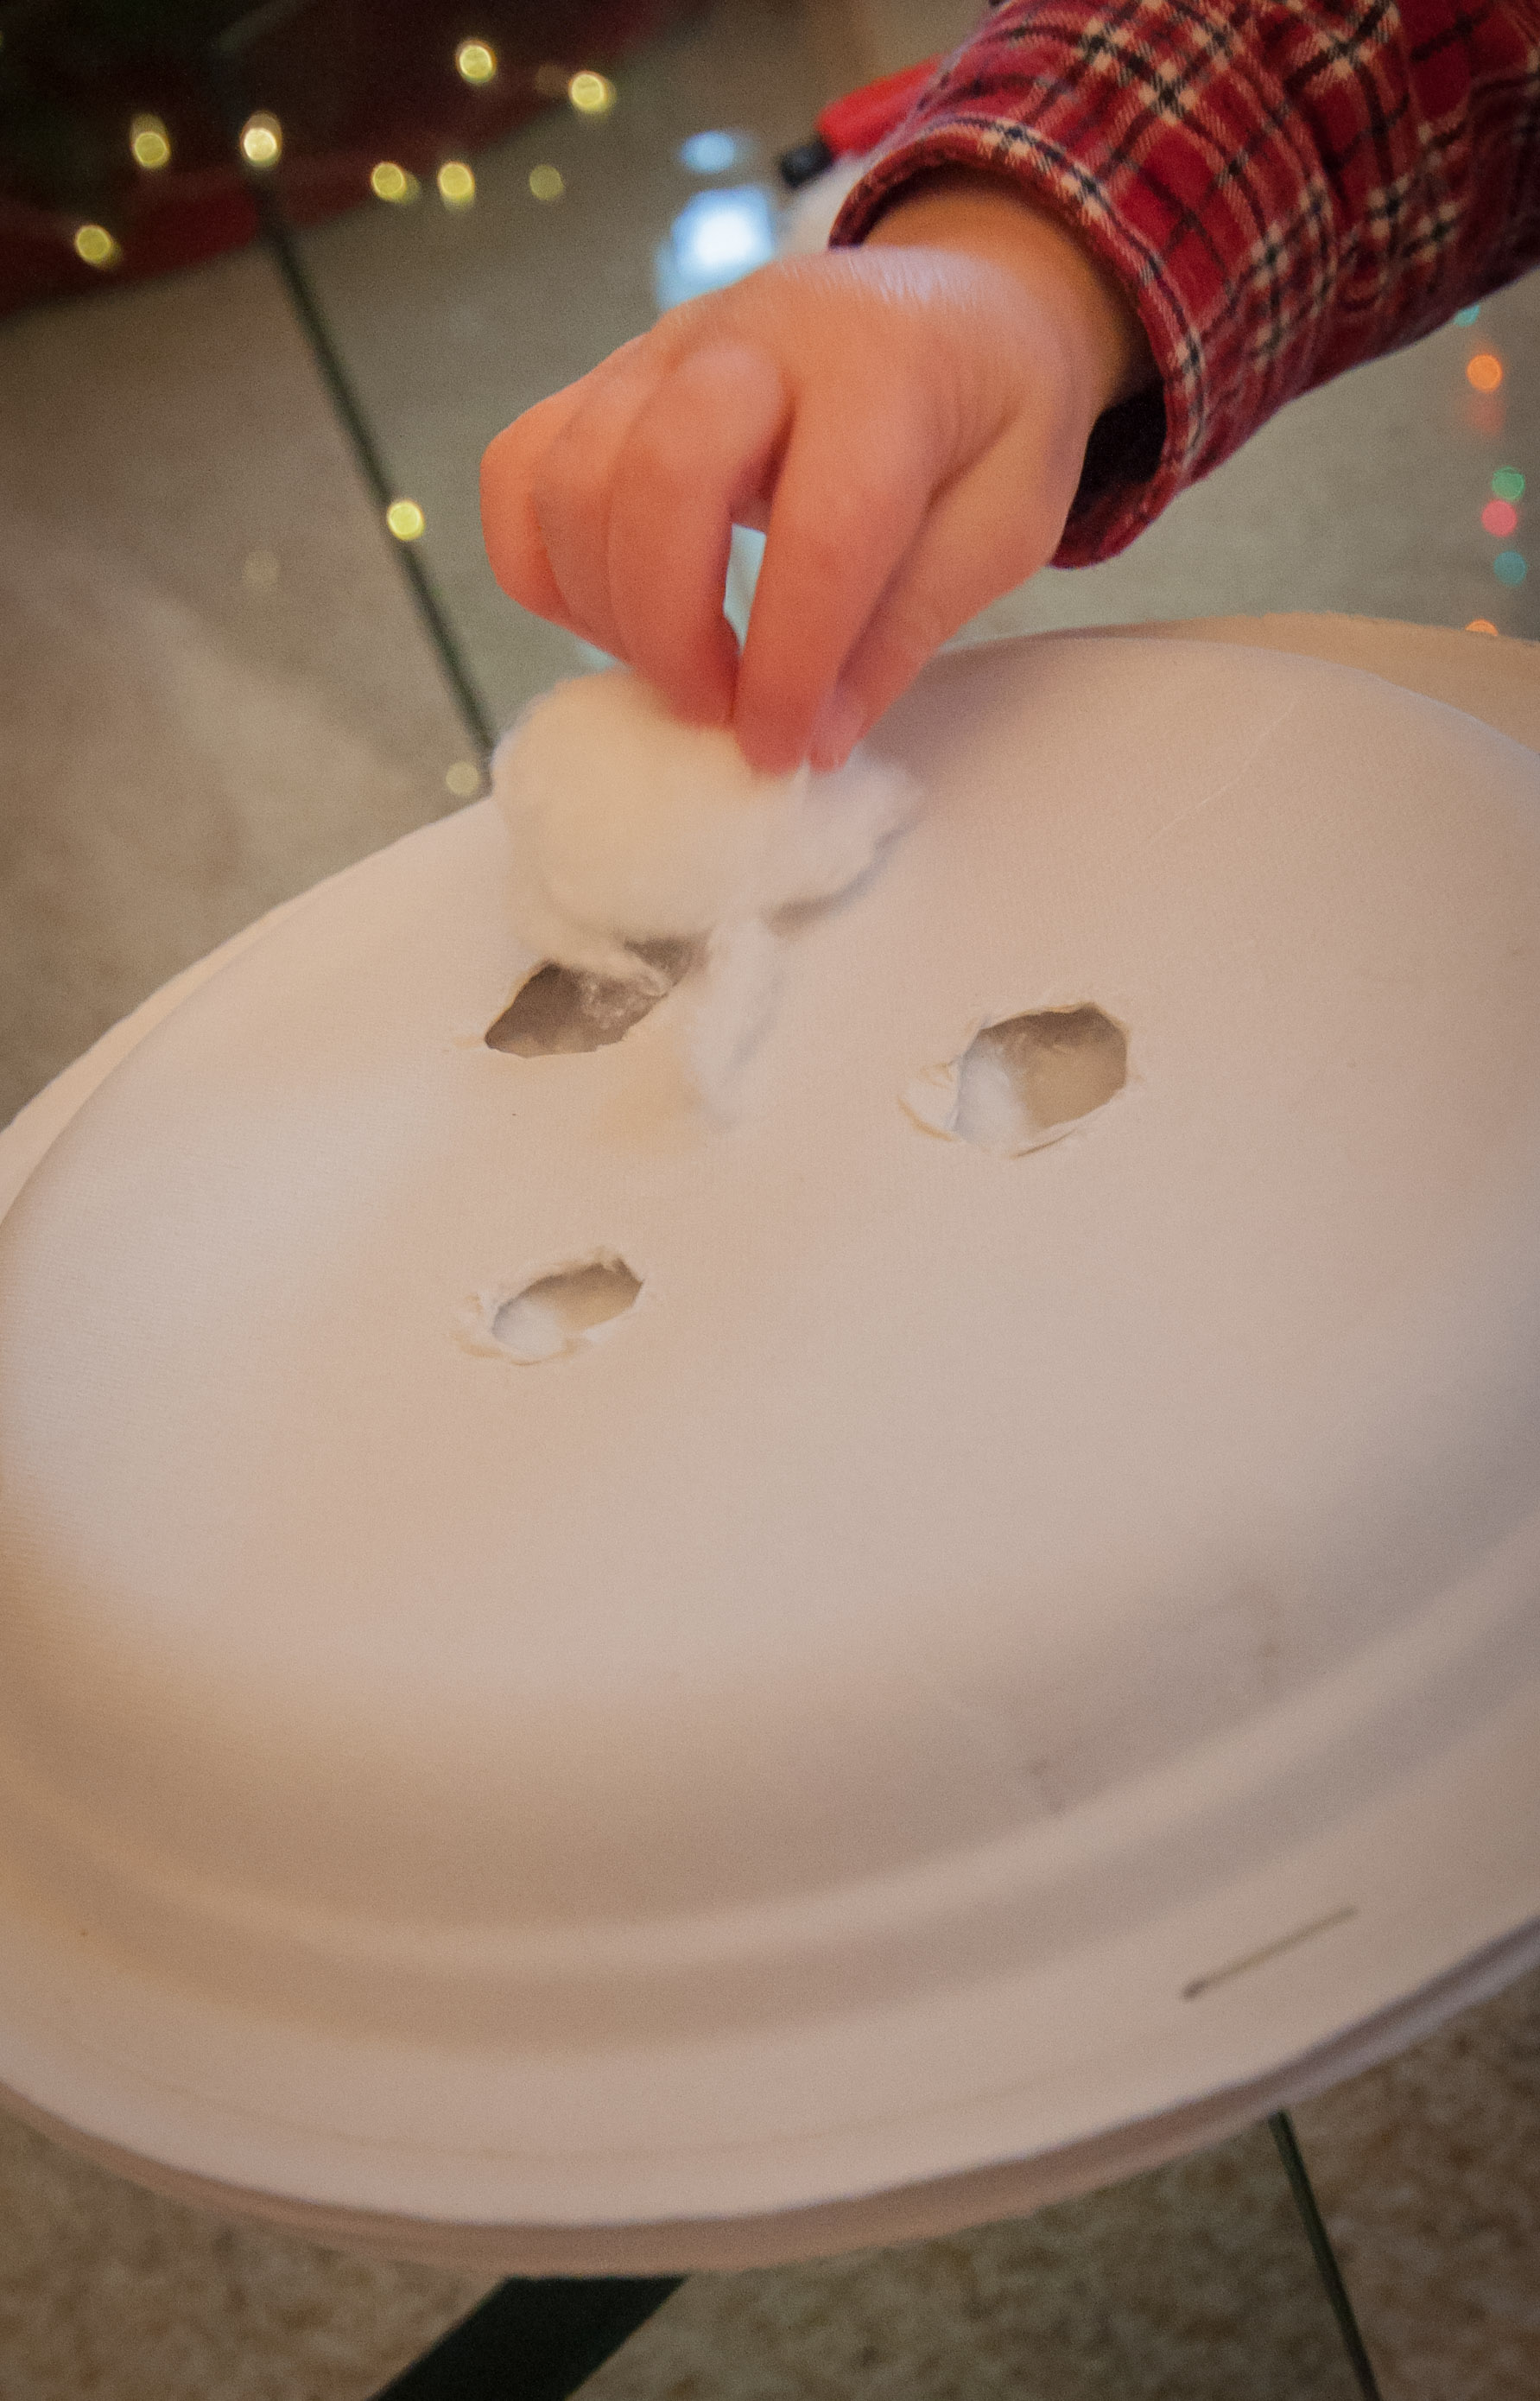
I was surprised (and pleased!) to see that he had “matched” the soft side with the extra cotton balls and was trying to add them in! Makes me think he might be ready for some sorting and matching tasks soon… 🙂